
How to Create a Bootable Windows XP USB Installer? When considering the utilization of Windows XP, it’s essential to weigh the pros and cons, especially in today’s rapidly evolving technological landscape. While Windows XP is known for its stability and widespread usage in the past, it’s important to note that Microsoft officially ended support for this operating system in April 2014. This means that security updates and patches are no longer provided by the company, leaving systems running Windows XP more vulnerable to potential cyber threats.
However, in certain niche scenarios, using Windows XP might still be necessary. Legacy software and hardware that were specifically designed for Windows XP may not function properly on newer operating systems. In such cases, choosing to embrace Windows XP can prove beneficial as it allows compatibility with older systems and ensures the smooth operation of these vital components.
Additionally, Windows XP’s familiar interface and user-friendly experience may make transitioning easier for individuals and organizations who are accustomed to the operating system. This can reduce the learning curve and mitigate potential productivity disruptions that can occur with a major change in operating systems.
However, it is crucial to emphasize that running Windows XP without proper security measures in place can pose considerable risks. To mitigate these risks, it is recommended to implement stringent security practices, such as running the operating system in a secured network environment, using updated antivirus software, and employing additional security measures like firewalls and intrusion detection systems. This can help safeguard your system to a certain extent, but it’s important to acknowledge that Windows XP will never offer the same level of protection as a currently supported operating system.
It’s worth noting that migrating to a newer and supported operating system, such as Windows 10, ensures access to the latest security updates, features, and ongoing technical support from Microsoft. Upgrading to a modern operating system not only enhances security but also provides an opportunity to leverage newer technologies, improved performance, and increased compatibility with contemporary software and hardware.
Enhancing Efficiency and Safety: The Power of HMI Software
In conclusion, while Windows XP may still have its niche use cases, it’s crucial to evaluate your specific needs, and the potential risks involved, and consider the long-term implications. Striking the right balance between compatibility and security is paramount to the successful operation of any system.
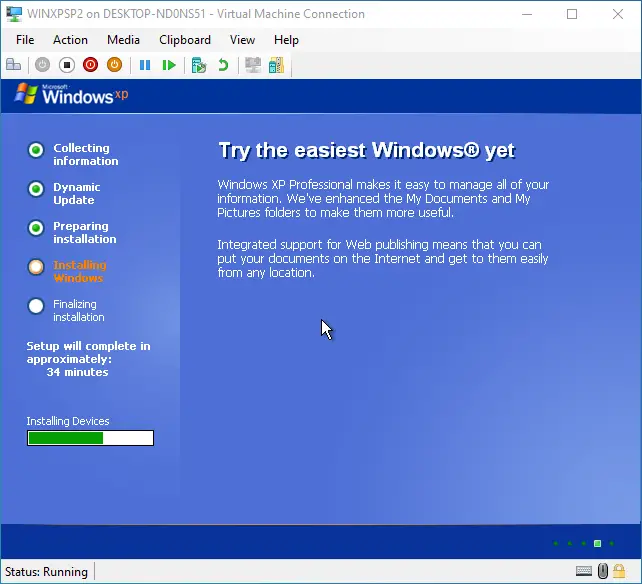
How to Create a Bootable Windows XP USB Installer
To create a Windows XP USB installer, you can follow these steps:
- Find a Windows XP ISO file: You will need an ISO file of the Windows XP installation disk. Make sure you have a valid product key.
- Format the USB drive: Connect the USB drive to your computer and ensure there is no important data on it. Open File Explorer, right-click on the USB drive, and select “Format.” Choose the FAT32 file system and click “Start” to format the USB drive.
- Download and install Rufus: Rufus is a free and reliable tool for creating bootable USB drives. Download Rufus from the official website and install it on your computer.
- Launch Rufus: Open Rufus and select your USB drive from the “Device” dropdown menu.
- Select the Windows XP ISO file: Click on the “Select” button next to the “Boot selection” field and browse for the Windows XP ISO file on your computer. Select the ISO file and click “Open.”
- Configure Rufus settings: Leave the default settings as they are, unless you have specific requirements. Ensure that the “Create a bootable disk using” option is set to “ISO Image” and the “Partition scheme” is set to “MBR.”
- Start the creation process: Double-check that you have selected the correct USB drive and ISO file. Click the “Start” button in Rufus to initiate the process. Rufus will warn you that all data on the USB drive will be destroyed.
- Wait for the process to complete: Rufus will now create the bootable Windows XP USB installer. Wait for the process to finish, which may take some time.
- Eject the USB drive: Once the process is complete, you will see a notification in Rufus. Safely eject the USB drive from your computer.
You now have a bootable Windows XP USB installer. You can use this USB drive to install Windows XP on a computer by booting from the USB drive.

You must be logged in to post a comment.